
Named cell size
ZQDWMND K40 Honeycomb Bed
ZQDWMND states a 5.5mm cell and offers five sizes from 200x300mm to 300x400mm.
- Bed & table
- Fits K40-size CO2 lasers
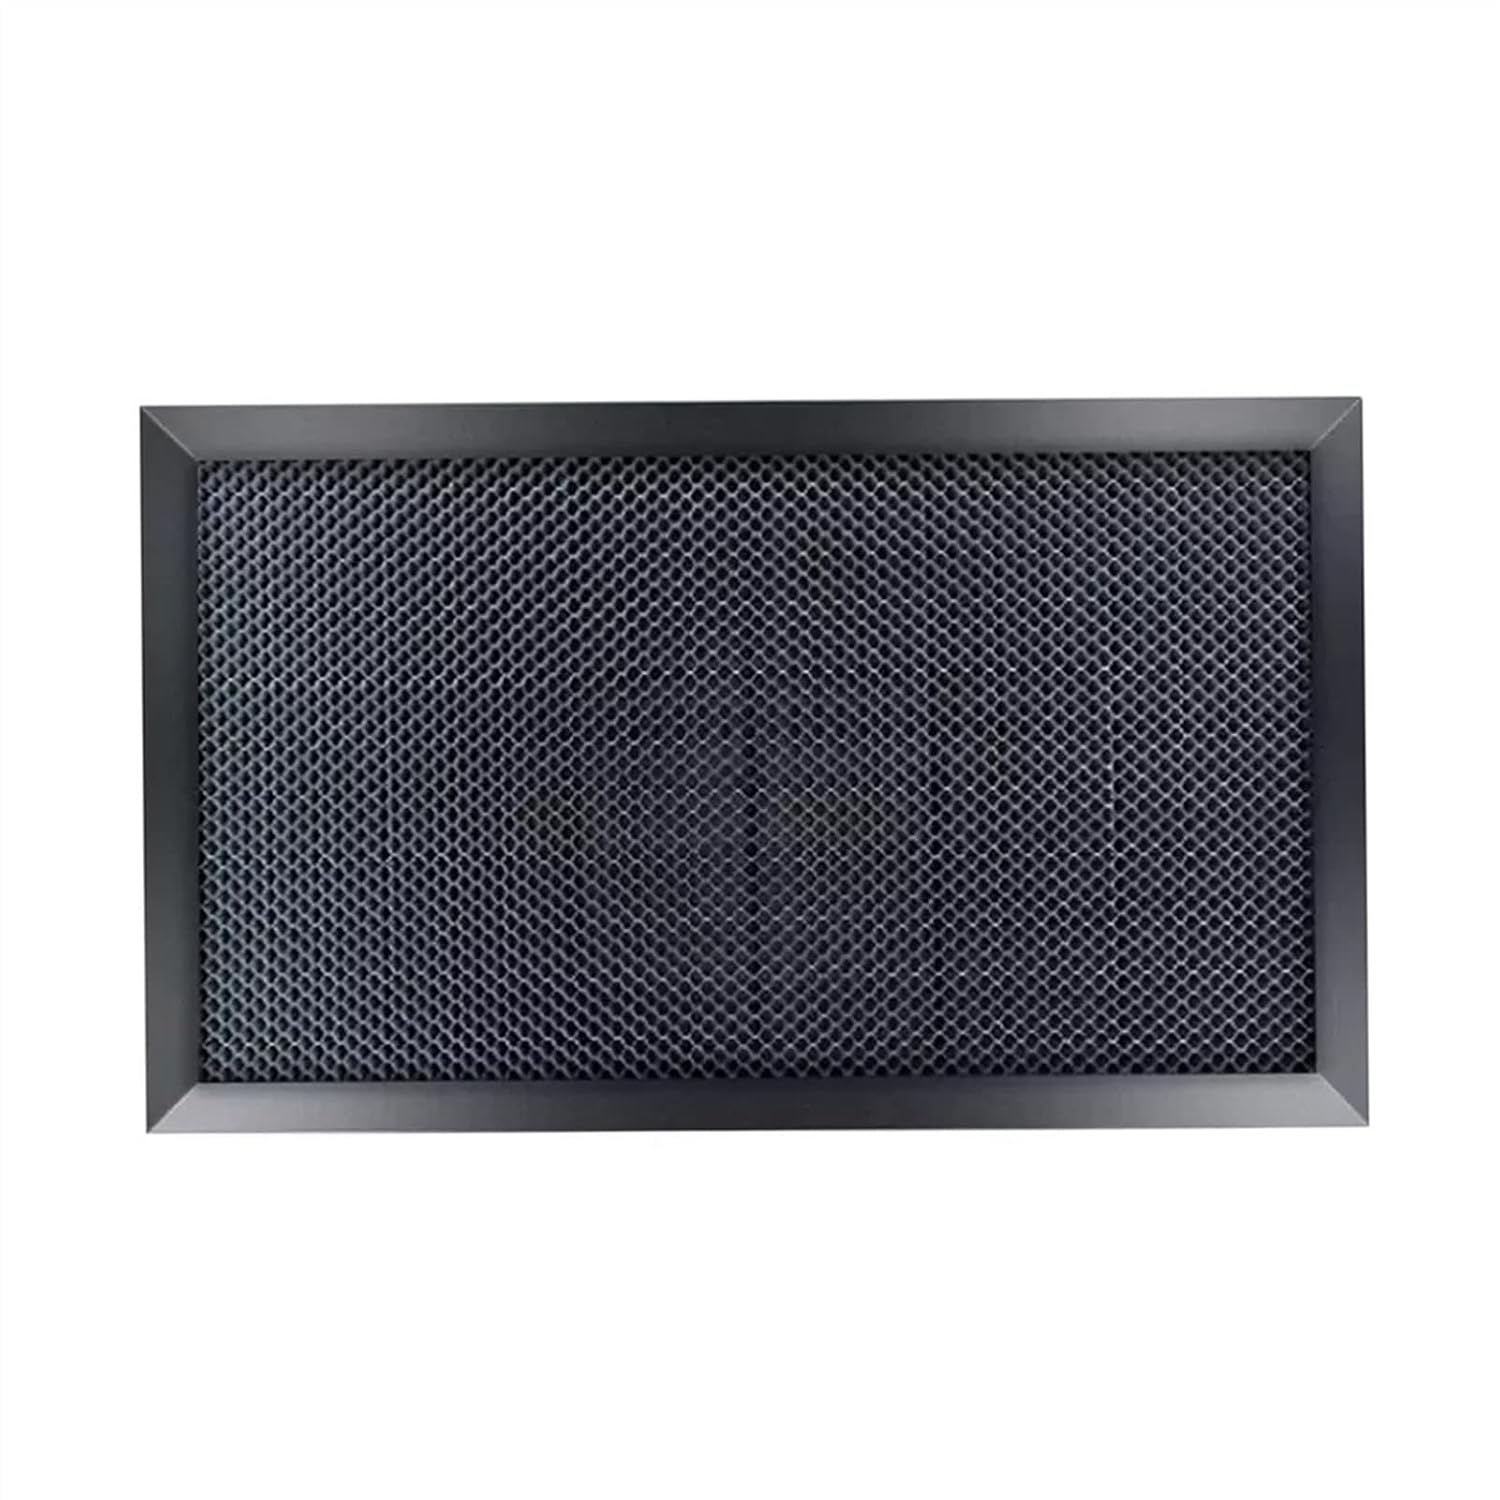
A galvanized iron honeycomb with an alloy edge, made for K40-series CO2 lasers. It trades the stock spring clamp for a flat, open surface that supports thin sheet stock and lets the beam and smoke pass through.
zwqpeic offers this honeycomb in 300 by 200mm and 350 by 250mm, and makes custom sizes on request. This particular version carries a 400 by 300mm by 22mm label, while its size line reads 300 by 200mm. Those are very different parts, so confirm with zwqpeic which one ships before you pay.
Then measure your own machine. The K40 moves the head over roughly 300 by 200mm, about 12 by 8 inches, and the cabinet around that area differs from one build to the next. Many K40s have an exhaust duct that pokes into the back of the bay, and the stock clamp bed sits on standoffs that set the floor height.
| Size | Against a 300 x 200mm work area | Check before ordering |
|---|---|---|
| 300 x 200mm | Matches the travel | Clearance at the exhaust duct |
| 350 x 250mm | Extends past the travel | Cabinet width and door opening |
| 400 x 300mm | Well past the travel | Whether it fits the cabinet at all |
Take these measurements with a steel rule, lid open and machine unplugged:
A bed larger than the travel is not wasted. It gives a full sheet somewhere flat to rest, and the edges outside the beam's reach make handy stops for jigs. It is only a problem if it will not go through the door. Full cabinet and work-area figures are in the K40 dimensions guide.
| Spec | Value |
|---|---|
| Type | Honeycomb working table |
| Brand | zwqpeic |
| Made for | K40-series CO2 laser cutters and engravers |
| Standard size | 300 x 200mm |
| Alternative size | 350 x 250mm |
| Custom sizes | Available on request |
| This version's label | 400 x 300mm x 22mm |
| Height | 22mm |
| Honeycomb material | Galvanized iron plate |
| Frame | Alloy edging |
| Flatness | High flatness, not easy to deform (maker claim) |
| Laser type | CO2 cutting and engraving |
| Use | DIY equipment part and replacement bed |
The stock K40 ships with a spring-loaded clamp built for rubber stamps. It holds a small plate well and a sheet of plywood badly. Taking it out is the first step to fitting this honeycomb; give it ten minutes and a screwdriver.
zwqpeic uses galvanized iron for the honeycomb and an alloy strip around the edge, and it describes the bed as hard to deform. Treat it gently anyway. Honeycomb cells crush if you lean on them or drop a heavy offcut, and a dent under the work puts that spot out of focus.
With the clamp gone and the bed level, the only job left is focus.
A honeycomb raises the work surface by its own height. At 22mm, that is enough to move a sheet well out of focus if you set the bed on the old clamp's floor level. The fix is to set the bed so the top of your material sits at the lens's focal distance.
Most K40s use a lens with a 50.8mm focal length. Focus is measured from the lens itself, not from the bottom of the head, so a head with an air cone changes the gap you see. Find the real focus with a ramp test instead of trusting a number:
To hit that height with a 22mm bed, you have three choices:
Recheck focus whenever you change material thickness. A 3mm sheet and a 6mm sheet need the bed in two different places, and cutting out of focus wastes power the K40 does not have to spare. The alignment guide covers focus alongside the mirror checks, and the K40 setup guide covers the first test cuts.
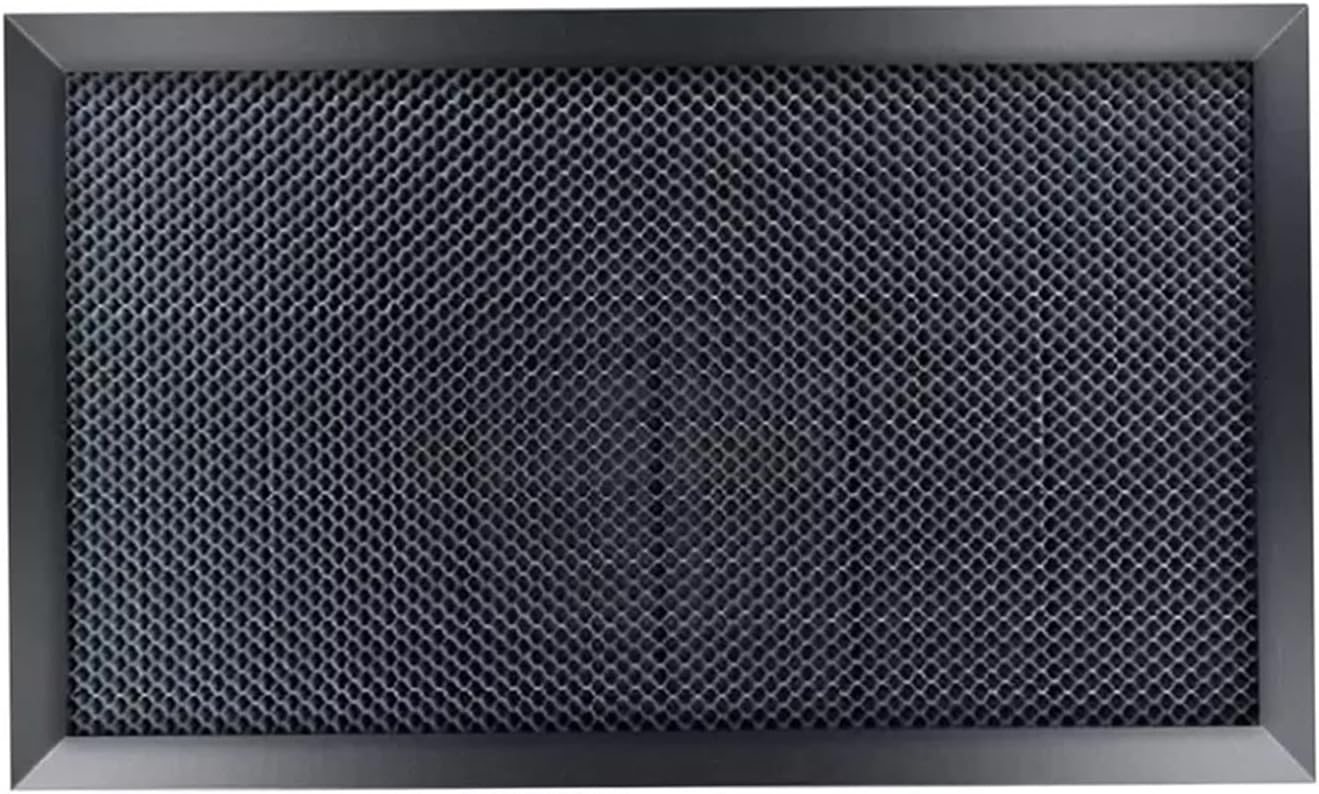

A honeycomb helps most on cuts. The beam leaves the bottom of the sheet into open cells rather than a solid plate, smoke gets pulled down and away, and thin stock stays flat across the whole area. Engraving gains too, because the surface stays level from corner to corner.
It has limits, and knowing them saves material:
Galvanized iron is magnetic, so small magnets hold warped sheets flat without tape. Keep them out of the head's path.
A honeycomb works best with air assist. The jet pushes smoke down through the cut, the open cells give it somewhere to go, and the exhaust fan carries it out instead of letting it hang under the lens.
The LSYAMQF honeycomb is described in identical terms, so pick on whichever maker confirms the size you need. The ZQDWMND bed names a 5.5mm cell and five sizes, including 220 by 320mm and 200 by 300mm. For the full upgrade order, bed included, see K40 upgrades.
The 300x200mm size matches the K40's roughly 12x8 inch work area. This version is labelled 400x300mm, so confirm the size with zwqpeic and measure your bay, including the exhaust duct.
Yes. The bed is 22mm tall, so set it on shims or a Z table until the top of your material sits at the lens's focal distance, found with a ramp test.
Galvanized iron plate with alloy edging. Being iron, it holds small magnets for keeping thin sheets flat.
Lift it out, brush and scrape resin from the cells, and vacuum the bay floor under it. Do this every few sessions if you cut plywood or acrylic.